I’m going to preface this post by warning you that if you’re a purist when it comes to design, you might want to come back next week. I consider myself a purist in most material matters, but an entire room of 80s orange oak now that I’ve lived in it for 6 months is not one of them.
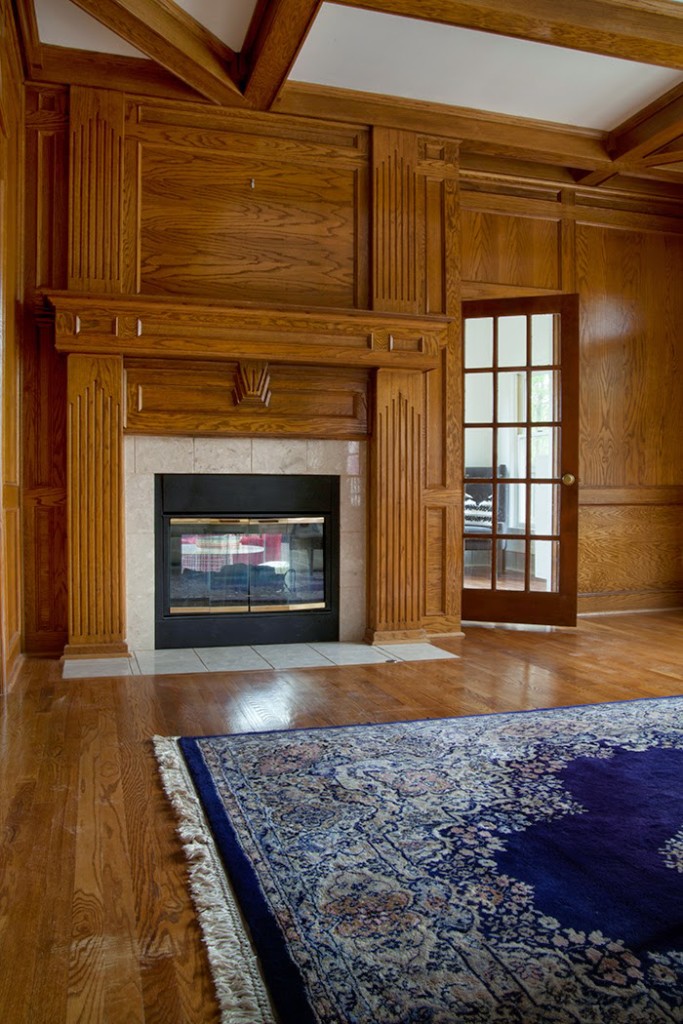
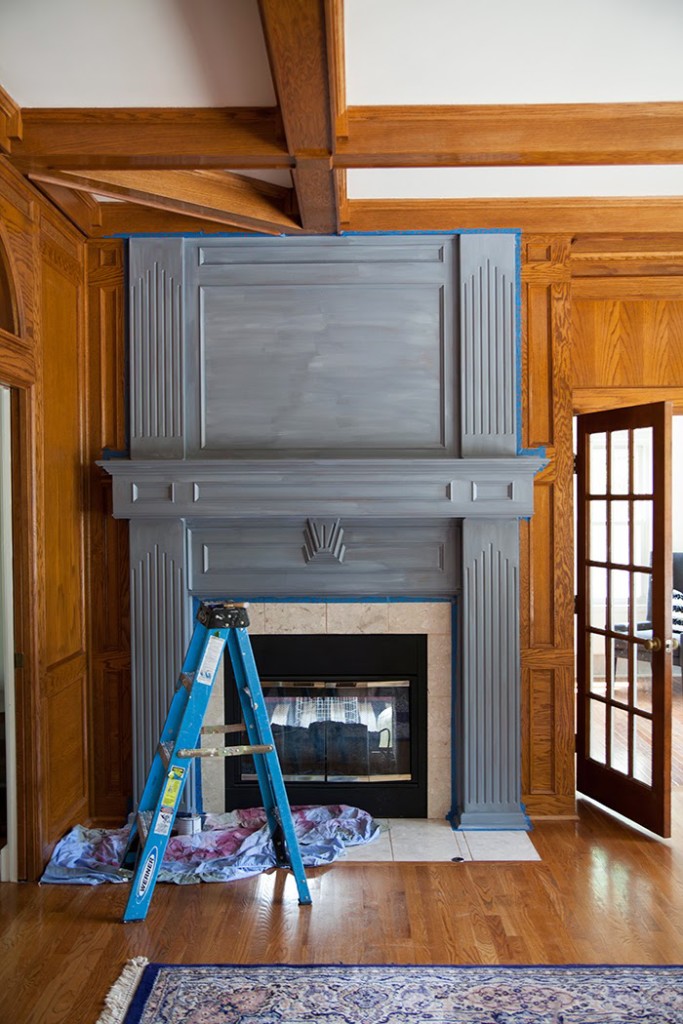
This room has given me mixed feelings since we moved in, and I realized one day that the fireplace was the main source of uncertainly. I think any fireplace deserves to hold a place of importance in a room not all rooms are lucky enough to have them and this one is like a wallflower standing in the corner at the middle school dance. He’s shy, quiet, and simply doing his best to blend into the crowd.
There were two things that came to mind when updating him. One was cheap and one was not. While I wanted to do both, I figured I’d give the cheap one a shot first. Maybe down the road I’ll be able to replace his surround and hearth with the marble I’ve been dreaming of, but for now I think I’ll spend that $1,000 elsewhere like the backyard.

Now that I’ve had some experience painting fireplaces, I wanted to show you the process. This is a little different than the kids room because we’re not painting the wall, so tidiness and a good tape job are key. I used a delicate tape knowing the finish on the wood is original and likely a bit frail.
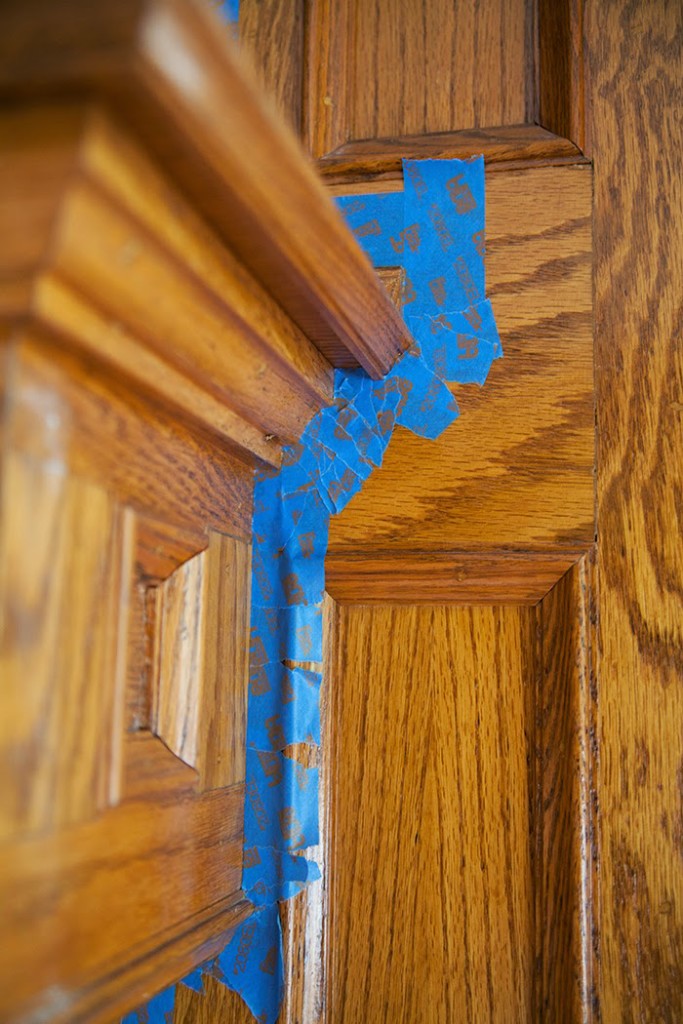
Details are tedious, but crucial to getting the right places covered. The whole mantle took me a few hours to tape, but it was necessary.
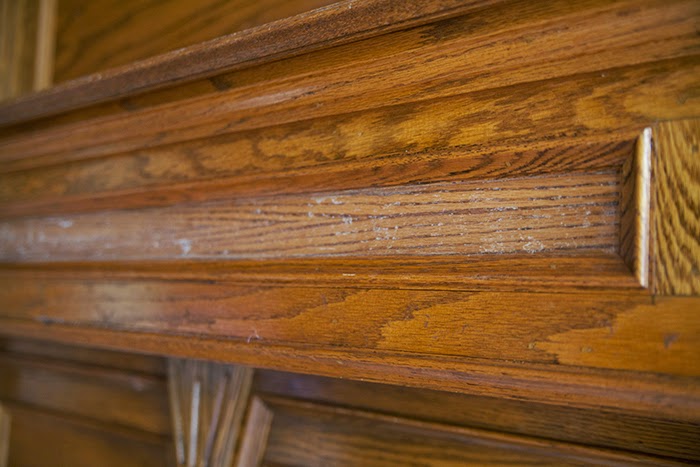
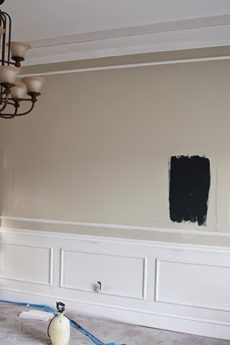
When you use a great primer you don’t need to do a lot of prep work, but the paneled sections across the mantle had a strange texture. When examining the side of the fireplace that faces the perpendicular wall I realized these all used to be mirrored! And cheaply mirrored at that. Oh, the 80s. Some sanding, goof off, and husband elbow grease eventually got us a smoother surface ready for primer.
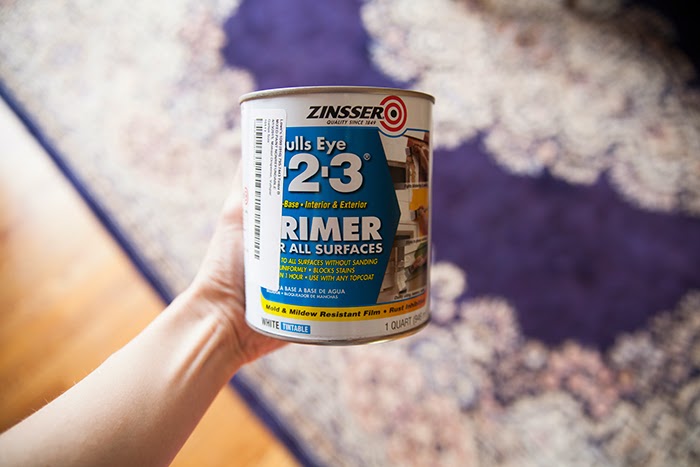
There are a lot of great primers on the market these days, but this is what we tend to use. The water-based version doesn’t smell and you can use latex or enamel over it. It comes white but I had it tinted grey so that the dark color I chose would take less coats. And if you don’t want hand cramps use this brush.
Phew. It was at this point that I knew I was going to love the end result. It’s always nerve-racking painting something where there’s no going back. In the past I’ve only done one coat of primer but it’s been my experience that two coats give your final paint a much better result. Any areas where the wood shows through will be the areas that the paint doesn’t seem to cover as well.
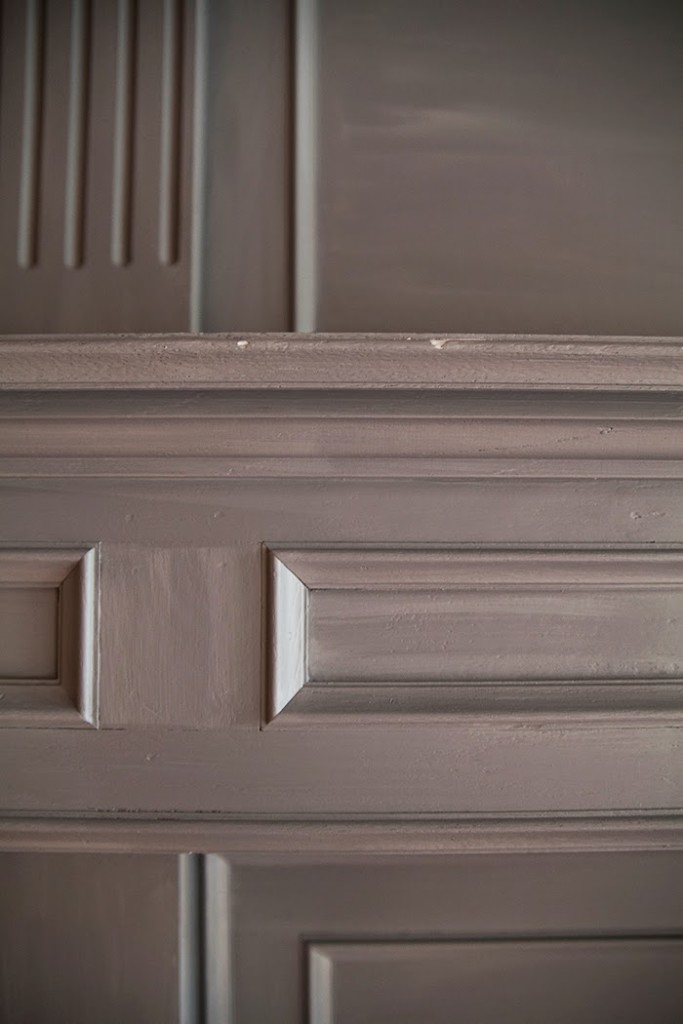
In between coats of primer is when I like to fill nail holes and cracks. While it’s hard to notice these things in wood, once it goes a solid they stick out like a sore thumb.
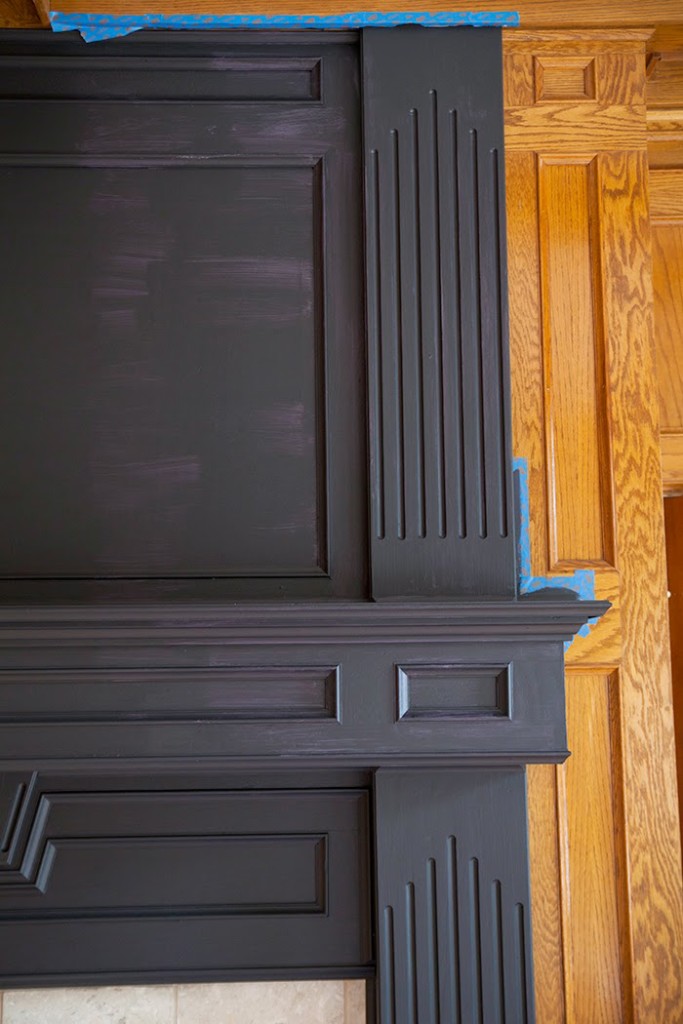
Next I moved on to paint. The color is Benjamin Moore’s Black Beauty. The first coat generally looks pretty bad, but the second always fills in nicely.
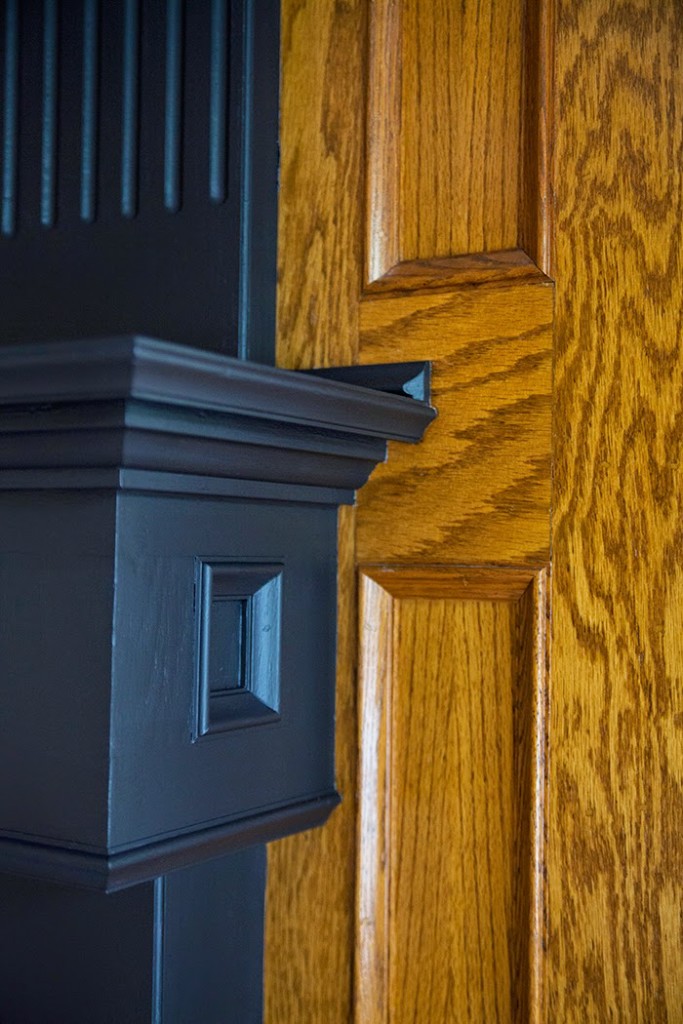
After letting the paint dry it’s time to remove the tape. Because you have all of these layers of dry paint the likelihood of paint peeling off with the tape is high. Take a box cutter or straight edge and score around the mantle where it meets the tape. Peel the tape up, and if need be use a bit of soap and water and/or a blade to carefully remove anything that leaked through.
I’ll be back tomorrow with the end result.
Are you a purist? Where’s the line you draw for painting or leaving wood?


Some people are so against painting any wood (and, often times, for good reason) but I definitely think you made the right call here. Can't wait to see the final result!
Thanks, Maggie!
I can't wait to see the entire space. Like you I have moments where I am not a purist. We recently moved into a 30 year old home FULL of dark 80's oak. I took a white paint laden brush to coffered ceilings, beadboard ceilings, paneled walls….my husband wasn't sure at first but now LOVES every brightened inch. Keep going!
I saw if you don't like the wood, then paint it. It's just that simple. I just made a statement on my blog the other day about the same thing. If you don't like it, change it… it's your wood, you paid for it 🙂 I can already tell the makeover is going to be FAB. Even the primer looked awesome!
Exactly!
LOL, I would have painted all the wood! I struggle with orange wood on walls.
Ha, I know. We'll see how the rest of the space turns out but if it doesn't look how I envision I might be getting the paintbrush out again. 🙂
When I clicked on this post, I was HOPING you'd do something like this! I think all the details on the fireplace will just pop now with that dark color. Lovely!
Thanks, glad you like it!
WELL.DONE.YOU! I have been the recipient of 80's orange oak far too many times and totally understand your dilema….You made the right choice for sure! SO FAB….cant wait to see the rest!
Thanks, I'm really happy with it!
Oh man, I can't wait to see what it looks like! I think you made the right choice.
Oh I can't wait to see it! Side note: I showed my wood purist husband this post and he mentioned that if it were his room, he would call a local company that has a machine that blasts the finish off the walls. They can then stain and finish it all. Our company is called Blasting Technologies, but since we're in Montana that will probably not be helpful to you. 😉 Personally I would just paint it, but that opinion about gave my husband a heart attack.
Ha! Thanks for sharing this, Hannah! I figured there had to be some sort of method to get off the sealer and stain without sanding. I'll have to look into that! At least I know if I do paint that there is an option to go back to wood at some point that doesn't involve attempting to sand everything. 🙂
I say time will tell on this one. You could trying putting curtains up and other furnishing to see if that changes the overall look. I love the wood look and would love to see how you modernize/traditionalize it:) What a task!
That's definitely the attempt here, Julie! Light curtains and a dark sofa are on their way and I hope that the right elements will make the wood just feel like an accent and less overwhelming.
This was soooo the right choice. I can't wait to see the full afters!!
Where is a picture of the finish project? I'm the type of girl who needs to see how it looks from a distance.
Where is a picture of the finish project? I'm the type of girl who needs to see how it looks from a distance.
I shared it the following day here, Teresa: http://www.themakerista.com/2015/05/emphasizing-corner-fireplace-on-budget_8.html?showComment=1431372347524#c902210691619261289
I love this Gwen! Can't wait to see it in all it's glory!
I'm so not a purist. I'm all for doing what feels right, including painting over wood sometimes 🙂 Oh and I swear by that paintbrush!!
Can't wait to see the result. And awesome taping by the way!!
Ha, thanks Natalie. Definitely not by favorite part but very crucial!
Love it! I'm about to paint my fireplace black, too. What sheen would you recommend?
I did a flat because I wanted that look and knew that it wouldn't be touched much. It's held up really well!
Thanks for responding. My fireplace is on the "To Do" list for the weekend. Fingers crossed I love it at the end!