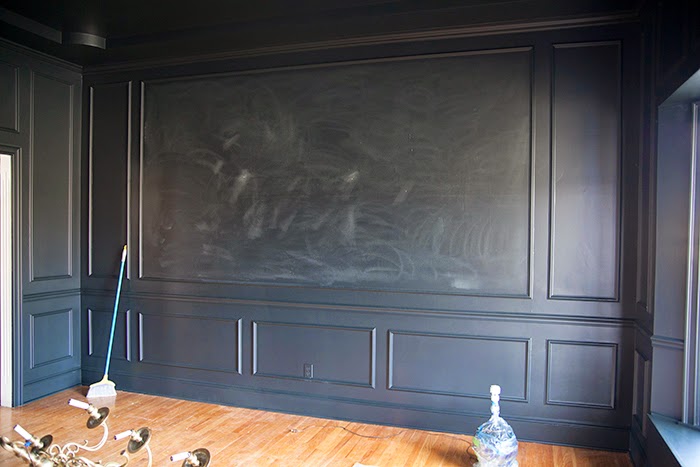
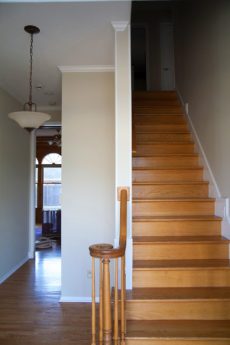
Let’s talk about that incredible mural today, shall we? I knew a mural would be a wonderful statement on that wall from the moment we bought the house. It can be seen from the front door, but it’s not the first thing you would see, scanning left to right. It’s not until the door is completely open that you see it, and I love that it’s an unexpected element as your eyes scan the front rooms.

Walls Republic has a plethora of great murals, but when they told me I could take any image I wanted from Shutterstock and have it turned into a mural? I’m a sucker for making something my own and my mind started racing…and I started spending hours on Shutterstock. I knew I wanted something that felt classic yet a bit fanciful. My background in opera drew me to several theatre images, but they weren’t necessarily the feel I wanted for the space, and I also wanted the mural to be something Micah could appreciate too.
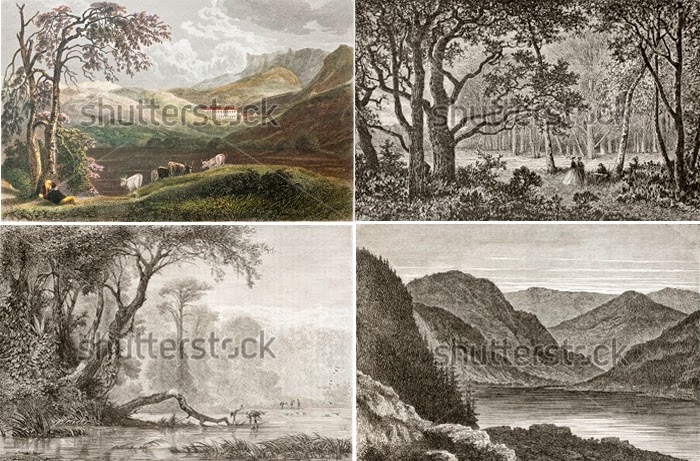
So I found landscape images that fit more in line with the feel I was wanting: serene, peaceful, pretty but not too busy. The ones above were big contenders – I love the colors in the first one but planned on a colorful rug instead, the second one was actually my favorite but felt a little busy (I didn’t want the chandelier to get lost in all of those branches), and the last two were nice but didn’t cause me to feel anything. The image I ended up going with is really lovely and has all of my wants: it is pretty yet simple and serene, has some life to it with the animals and people, and also feels sentimental. Its an illustration from the 1800’s of the Aosta Valley in Italy, and Micah and I honeymooned there.
Ordering it was easy and Walls Republic was able to produce it to be the exact size of the framing we had created for it. We originally planned to have one of Micah’s guys (my husband is a contractor) hang it because I was nervous about messing it up. With wallpaper, if something happens you can get another roll, but if you mess up part of a mural you probably have to get a whole new mural. But when it arrived and Micah saw the paper and read how to attach it he said “Let’s give this a whirl, we can do this.” And I’m always up for trying something ourselves if we can save money. First we prepped the wall by sanding it down to get rid of any bumps, wiped it with a dry microfiber cloth and followed that with a wet one.
The mural comes on one continues sheet of paper, so you have to first cut the sheets apart and lay it out on the ground.

You’ll have to excuse my poor quality photos, but at 10:30pm when your husband says he’s in the mood to do some work for you, you take it. I will say, you could tackle hanging this by yourself, but having two people is so much easier. Because this is a non-woven paper, getting it on the wall is rather simple. You’ll need wallpaper paste, a non-woven roller, bucket of water and sponge, seam roller, smoothing tool, drywall joint knife and exacto knife.
Begin by covering an area of the wall in glue, a little wider than your first sheet. We started on the left and worked to the right. Don’t worry about getting glue on the trim or wall, it easily wipes off once you’ve hung the piece. Apply the glue liberally. Grab your first sheet and place it up top. We ordered the mural a few inches bigger so we would have some to cut away (better to be too big than too small). After you’ve got it stuck at the top, work down the left side to get it straight up against the trim. This is assuming your trim is all level. We had just hung it ourselves, so we knew it was good to go. Then take the smoothing tool and working from the top and left smooth out the piece.

Once the piece is hung, trim whatever is extra with the exacto, using the joint knife as a guide. With a bucket of warm water, use the sponge to wipe away any excuse glue. Now, repeat these steps for the remaining pieces, being sure to match up the seams between sheets before securing it to the wall with the smoothing tool. Roll the seam roller down the seams as you work to ensure they are flat to the wall. When you get to the last piece, cut any excess on the side off using the same technique you did for the top and bottom.
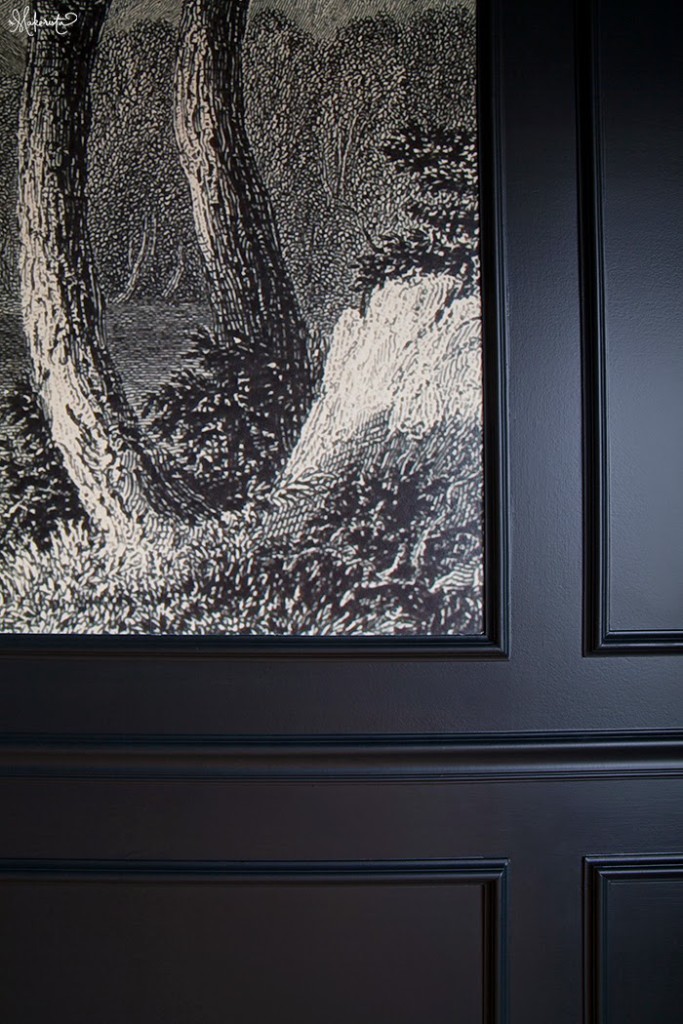
We’re so pleased with how it turned out. I was nervous there might be too much contrast, but rather than black and white it printed true to the illustration and is filled with lovely shades of cream and ivory.

You can purchase our exact mural here.
The whole process took about an hour, delivering a ton of bang for a short amount of work. The results are definitely one of my favorite parts of the space, and I’m scheming where else I can use some wallpaper when it’s this easy to hang.
Read on for the art we chose for the entryway.
Have you ever hung wallpaper? What has been your experience with it?
It turned out stupendous, but I think I already said that!
Wow! Amaaaazing!
So good
Looks great – really sophisticated!
That looks really cool, but that's a lot of moola! Regularly $900? Yikes!
It's definitely an investment piece, but I think it makes the space!
This is beautiful!!!
So absolutely gorgeous if you never did one more things in there, but I can't wait to see it all decked out!
absolutely stunning and worth every penny! wow…just wow
Just crazy amazing. I am so inspired and scheming about where I can hang one!!
I am SO impressed with this! And how cool that Walls Republic prints murals from shutterstock! I wish I had some spot in our tiny home for something like this. maybe our next house..
I can't even tell you how much I love it, Gwen!! I've been to that site and another one so many times, just haven't bit the bullet. Thanks for your great tutorial, I've hung wallpaper a few times and wouldn't hesitate to do it again, but for some reason this made me nervous. 🙂
LOOKS AMAZING!!!! What prep work did you have to do for the wood walls in the room? Did you use a sprayer to paint them and what kind of paint?
Caramarie, if you look back on the other posts you'll see the process, but basically we applied the wood trim – caulked, filled, sanded joints and nail holes, and then had it sprayed with Sherwin Williams Solo line of paint.
It's beyond gorgeous, Gwen!
Insanely good Gwen! Cannot wait to see more!
What a great print! Good thing you have a handy husband!
In your blog I was happy to see your article, better than last time, and have made great progress, I am very pleased. I am looking forward to your article will become better and better.
agario skins | mahjong connect | minecraft games |pac man | geometry dash lite | sniper games |halloween | game
Thanks for sharing this quality information with us. I really enjoyed reading.
Keep on posting!
Signature:
i like play games happy wheels online and play happy wheels 2 games
Nice post. I was convinced by your arguments. Surely you must have extensive knowledge and understanding very much. I admire you, write more. descargar facebook gratis , baixar whatsapp gratis , messenger whatsapp , baixar mobogenie gratis , baixar mobogenie gratis , baixar facebook , baixar facebook