I thank you for bearing with me as we work through this move. We just passed inspection and will need to be out of our home in a few weeks. The whirlwind that goes with that (and trying to figure out where to live) has been intense, and also peppered with several other wrenches thrown in – surgery and testing and lots of things breaking on us.
While it’s been a stressful time, I’m trying to remember that much of this is exciting and ultimately bringing us to a new home that we plan to live in for the long haul. It will taste that much sweeter when we get there and I’m searching for the lessons in it all. I look forward to sharing where we will be staying in the interim with you soon, and also a bit about the house hunting we’ve done and where we hope to go from here.
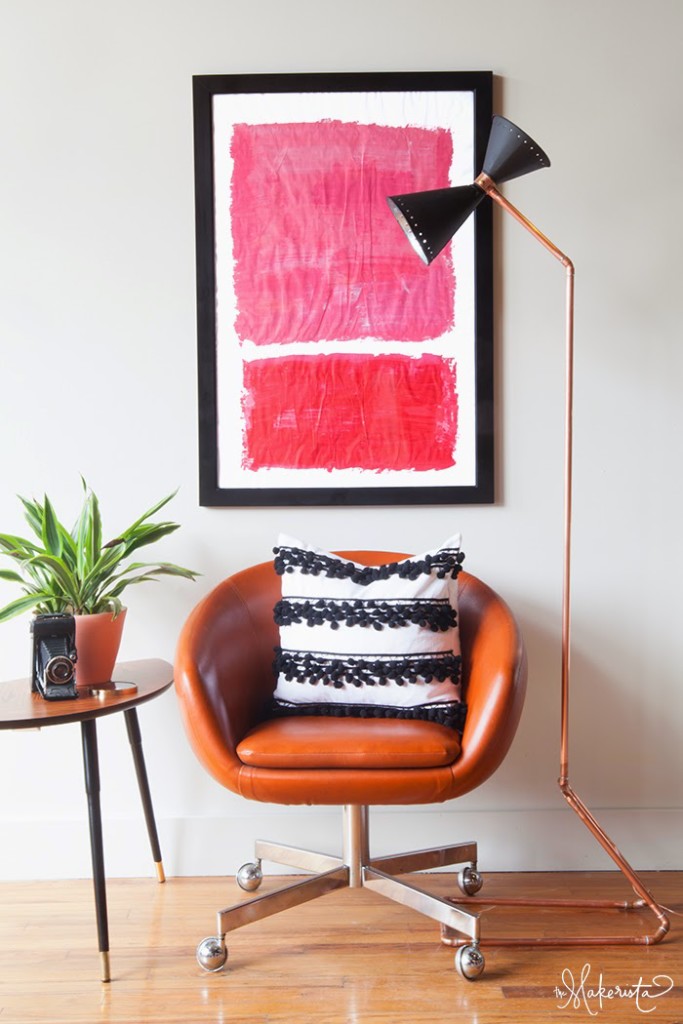
 Today I thought I would share with you my go-to pillowcase DIY. I really believe pillows can make a space. But, if they’re lacking in quality they can definitely break a space. A down insert is important (Mandi explains the best way to get these) and nice fabric is important. While I wouldn’t say I save a lot of money making my own, I’m getting much better quality. Instead of buying a $30 pillow with a poly insert, I spend $25 on some nice fabric and make a pillowcase for one of the several inserts I own. This also makes them washable, which is crucial with pets and kids.
Funny story: we have one pillow in the whole house that doesn’t come off of the insert, and wouldn’t you know that white, ruched, less-than-a-few-months-old pillow has a red stain on it?

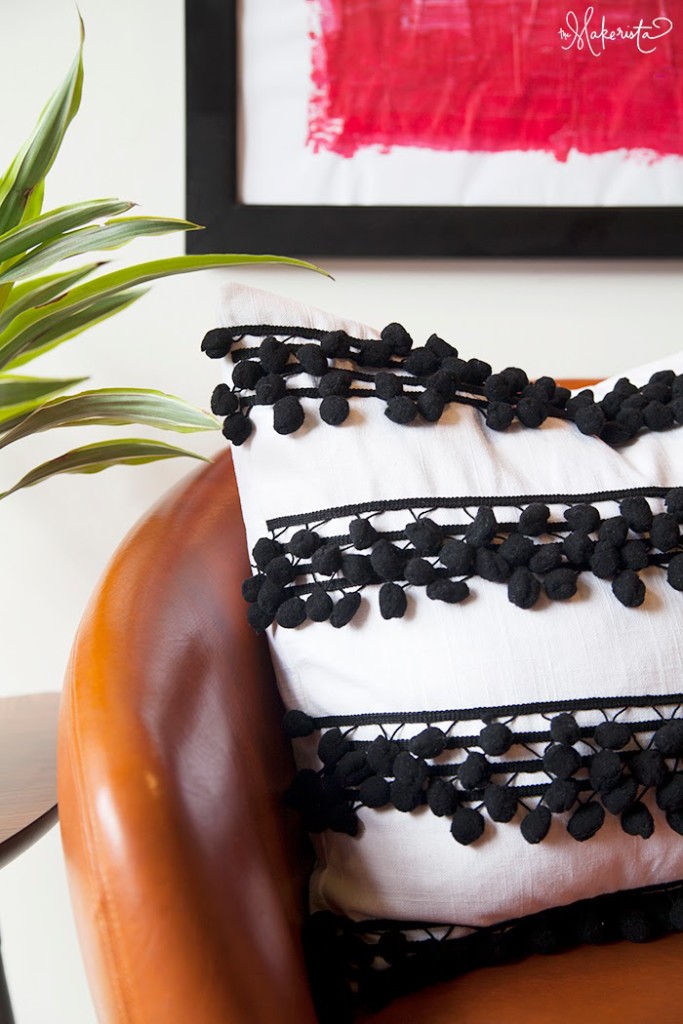
For this project, I’ll also be showing how to add the pompom trim. If you’re just wanting the basic DIY you can omit those steps.
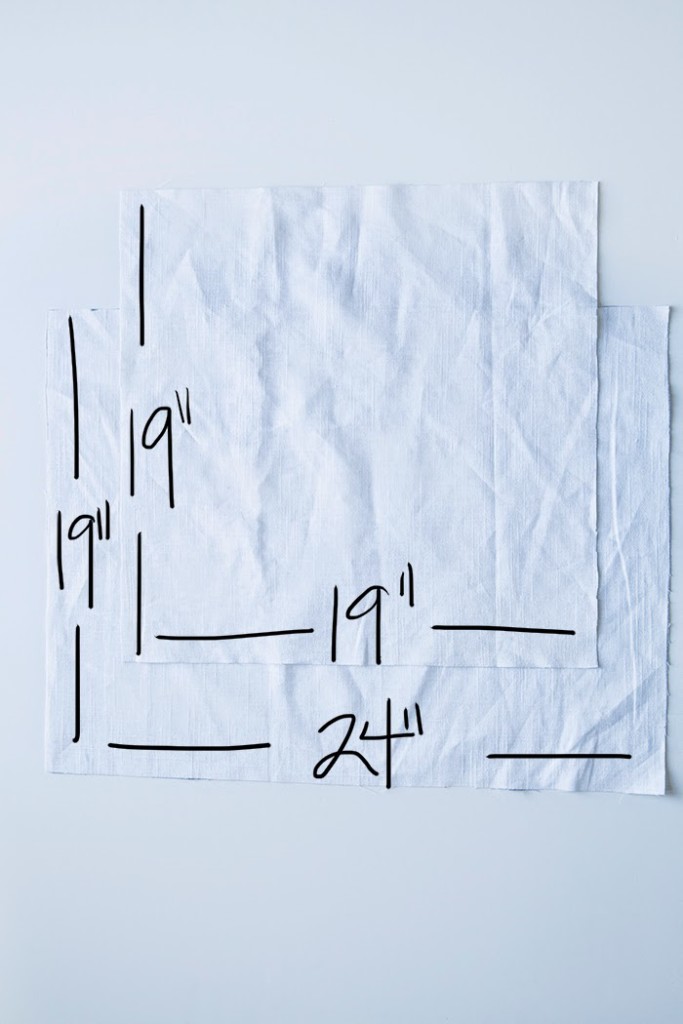
Start by washing and drying your fabric. This way you will take care of any shrinking before you construct. You want your case to be snug on the insert, so since my pillow is 20×20″ I make my fabric 19×19″. I use a 1/2″ seam allowance, so my finished case will end up about 18×18″. This ensures lots of fluff and a more professional look. You’ll need to cut 2 pieces of fabric. One 19×19″ and one 24×19″. If this is something you end up doing often, you might want to make patterns out of card stock or poster board. It saves me a lot of time to just trace and cut now, instead of measuring every time.

Take the larger piece (24×19″) and cut it in half to make 2 12×19″ pieces. These will be your back pieces. Hem one 19″ side of each piece.
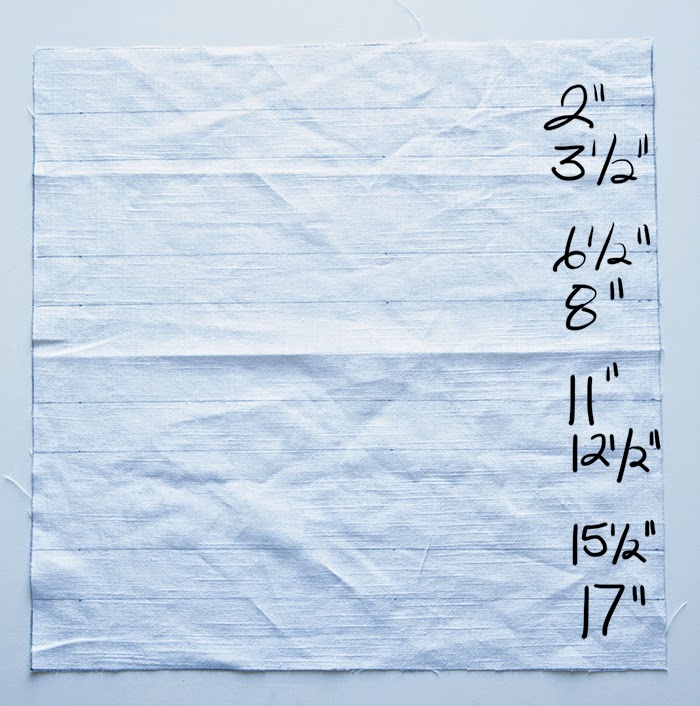
If you’re wanting to add the trim (if not, you can skip the next two steps), make the above markings on your 19×19″ piece. These will be your guides for the pompom trim. You’ll be placing trim between the lines that are 1 1/2″ apart and leaving the 3″ spaces empty.
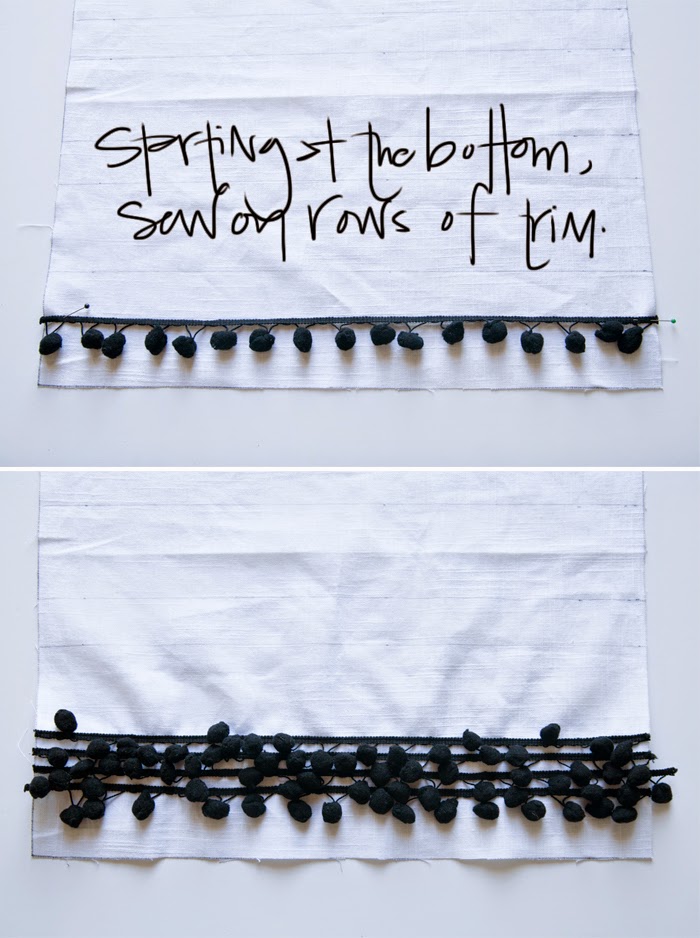
Start at the bottom line and pin and sew a piece of trim over it. I used a zipper foot on my sewing machine to keep the pompom tangling to a minimum. Evenly space and sew 2 more strips of trim in-between the first strip and the next line you’ve drawn. Sew the last strip on the second line. Skip the 3″ space and repeat the trim in the next 1 1/2″ space. Continue the process up the rest of the front of the pillowcase.
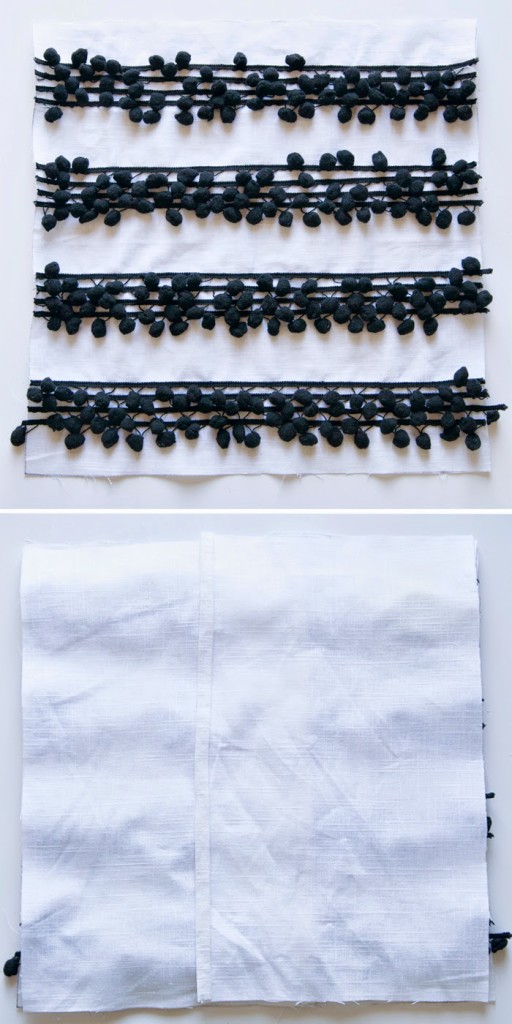
Place the back pieces on top of the front piece: right sides together and hemmed edges on the inside (all raw edges out). Pin and then sew around the perimeter using a 1/2″ seam allowance. Take extra time and care around the sides that have the trim, if you used it. Turn the case right side out, make sure to push through the corners for a crisp look, and stuff with the insert.
The basics of this tutorial are how I do most of my pillowcases, and I’m always pleased with the results. Once you’ve mastered the DIY, try adding some trim or piping to take it up a notch.
Are there any home items you try to exclusively DIY? I did break my own rule and purchased a set of these Kate Spade covers because they were on mega sale over Memorial Day weekend.


Such an exciting time for you and your family Gwen! Passed inspections mean one step closer:) I love those poms lady. One day Ill learn how to sew…one day. The finish line is so close my friend. We have the appraisal on the new house tomorrow and we are all sorts of stressed about it. With a short sale, so much hinges on the appraisal so here's to us both getting through these next few weeks in one piece!!
Love pom-pom fringe and love this pillow! Great tutorial Gwen 🙂
Thanks, Denise!
I am impressed you are even posting with everything you have going on. Good luck!! I love your pillow. I bought some similar pom pom trim and am going to use it to embellish some plain curtains in my daughter's room. xo
Jennifer@decoratingdelirim
Thanks, Jennifer! I'm doing my best to do something…I still want to be creating, even with everything else going on. Thanks for the support through the patchy posting!
Such an adorable pillow! Love the trim!
I do love pom-pom trim!
Brenda
I love this pillow! Great tutorial!!
Thanks, Rebecca!
Love this pillow! Now I need a sewing machine!!
Thanks! Yes, that might be necessary for this. 🙂
It's perfect Gwen!! Love the pom pom trim!
You had me at pom-pom….thanks for the great tutorial!
Love, love, love! Sharing this on "Weekend Reflections" tomorrow to my readers.
Thanks, Kathy!
Hi Gwen, I love your blog, especially your photos. Would you mind telling me what camera you use ? I am looking to upgrade from my old point-and-shoot. Thanks so much!
Hi! I currently use a Canon Mark 5d ii. I started out with a Canon Rebel. Best of luck!
I love making my own pillows too, gives you so many more options!
Exactly!
Love a little pom-pom. I would love to do this to the edge of a blanket someday. xo Kristin
I am so obsessed with pom poms right now – so when I saw this project for the first time in the EC2 competition I drooled a little bit. 🙂 Love! Great project!
Thanks, Rachel!
Love this idea! Simple but so cute!